An office cleanout can be a big job, especially when a business has been operating in the same space for several years. Offices often collect old furniture, unused equipment, paperwork, broken electronics, extra supplies, and other items that are no longer needed. A proper cleanout helps create a cleaner space, makes moving easier, and ensures unwanted items are handled properly.
Whether you are moving to a new office, closing a location, downsizing, renovating, or simply clearing out unused items, having a checklist can make the process much easier. Here is a practical office cleanout checklist for businesses.
1. Create a Cleanout Plan and Timeline
Before removing anything, make a clear plan for the cleanout. Start by walking through the entire office and making a list of what needs to be removed. Check offices, meeting rooms, kitchens, storage areas, reception spaces, server rooms, and other areas that may contain unwanted items.
Set a target date for completing the cleanout and divide the work into smaller tasks. You may want to clean one department or room at a time instead of trying to clear the whole office in one day. If the business is moving, check the moving date and make sure the cleanout is completed before the space needs to be handed over.
It is also useful to decide who will handle each part of the job. Employees can sort their own desks and personal items, while a manager or facilities team can handle larger furniture, equipment, waste, and storage areas. A clear plan can help prevent important items from being thrown away by mistake.
2. Sort Items Into Keep, Donate, Recycle, and Dispose
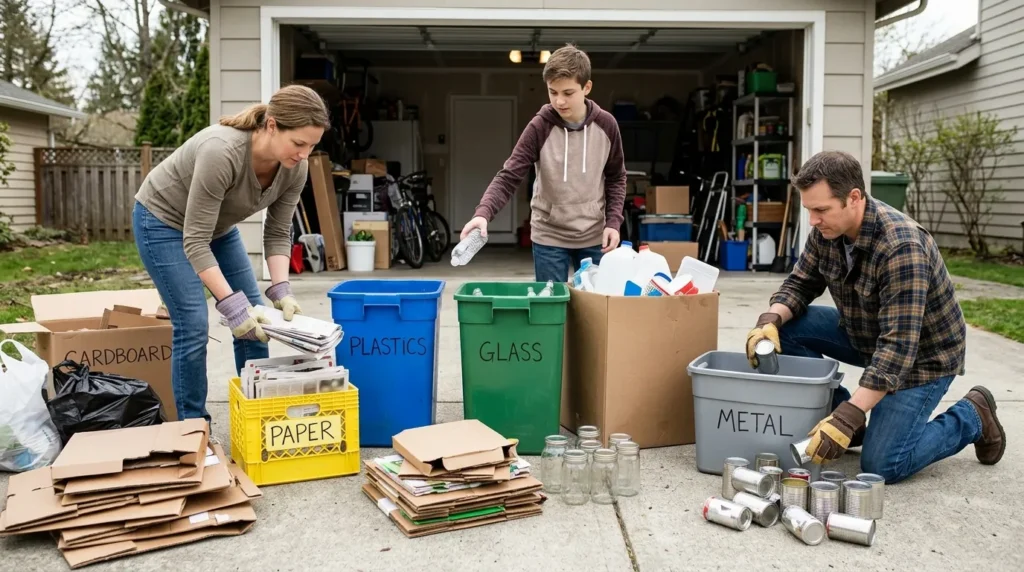
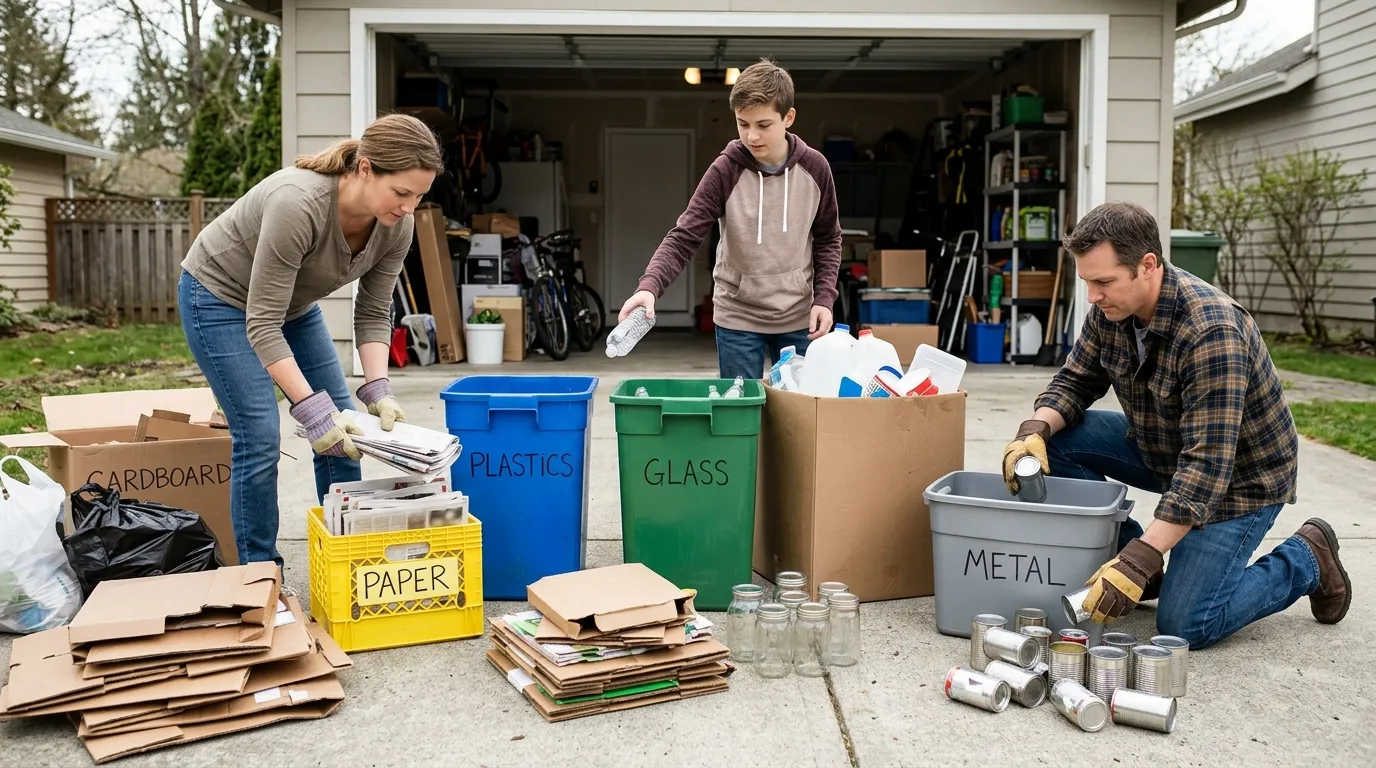
Once you have a plan, start sorting everything in the office. A simple way to do this is to create four groups: keep, donate, recycle, and dispose.
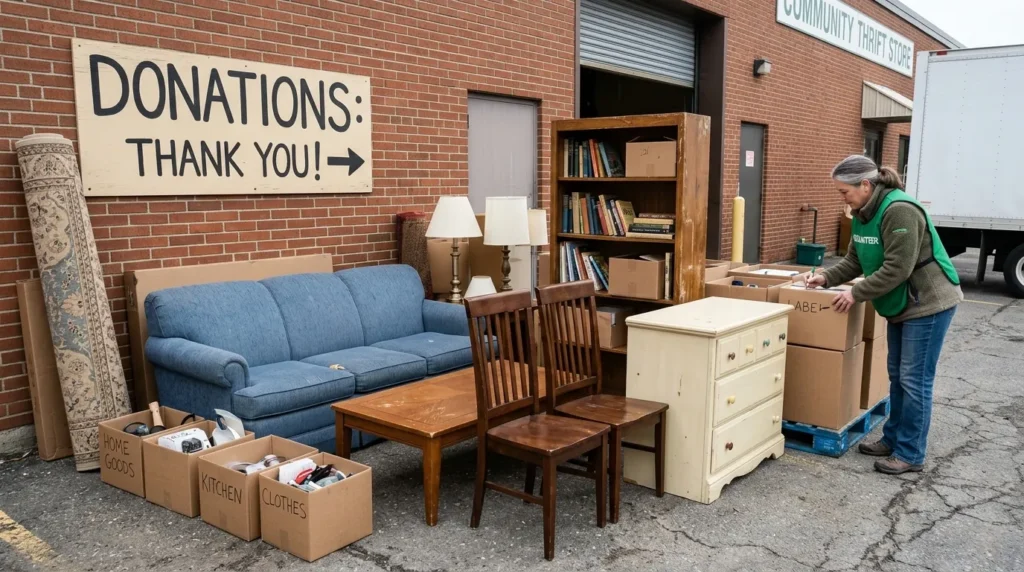
Items in the keep group should be things the business still uses or needs. Items that are in good condition but no longer needed may be donated or sold. Paper, cardboard, and suitable electronics should be sent for recycling where possible. Broken, damaged, or unusable items may need to be disposed of as waste.
Do not make quick decisions about items that may contain important business information. Check documents, storage devices, computers, and other equipment before putting them in the disposal pile. If several employees are involved, give everyone clear instructions about what can and cannot be removed.
This sorting process can also help reduce the amount of waste produced during the cleanout. Instead of sending everything to a landfill, usable items can find a new home through donation, resale, or reuse.
3. Remove Unwanted Furniture and Office Equipment
Office furniture is often one of the biggest parts of a cleanout. Desks, chairs, filing cabinets, shelves, tables, reception counters, and storage units can take up a lot of space and may be difficult to move without help.
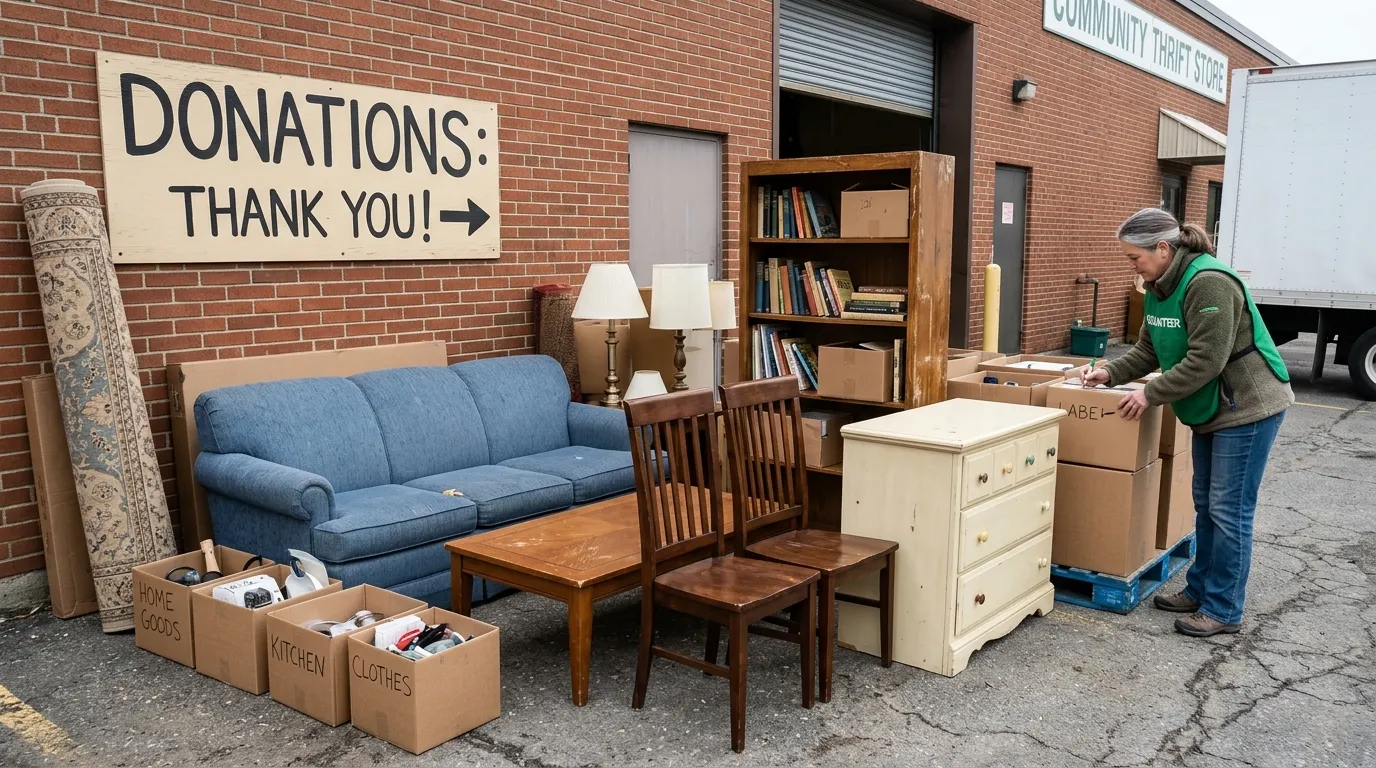
Check each piece of furniture and decide whether it will be moved to the new office, sold, donated, recycled, or disposed of. Furniture that is still in good condition may be useful to another business, charity, school, or community group.
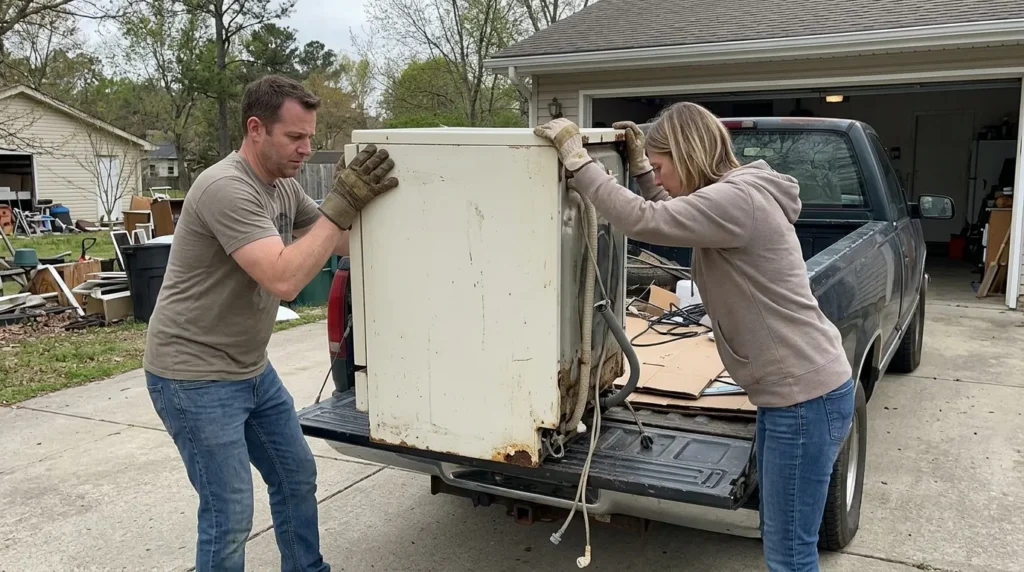
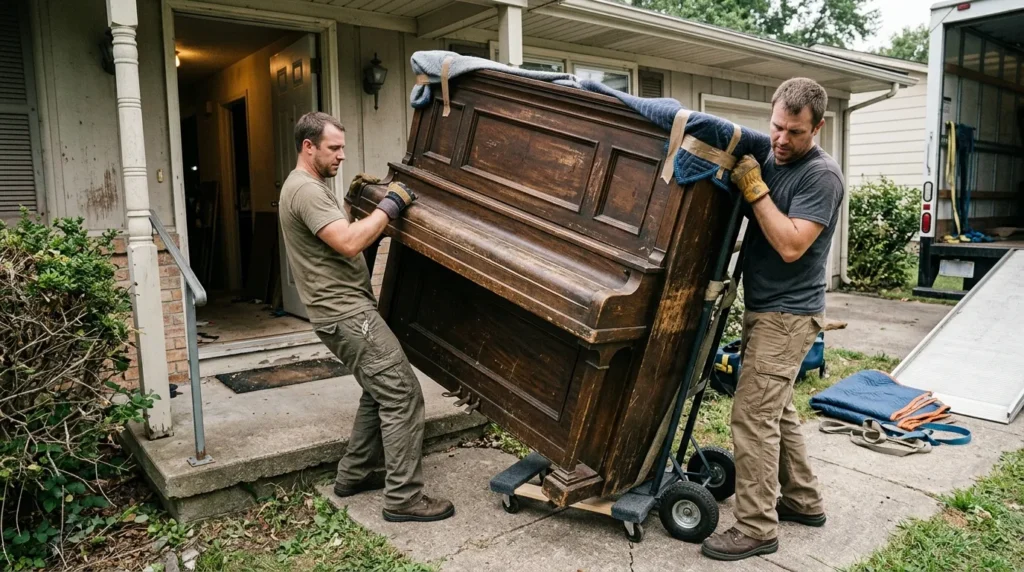
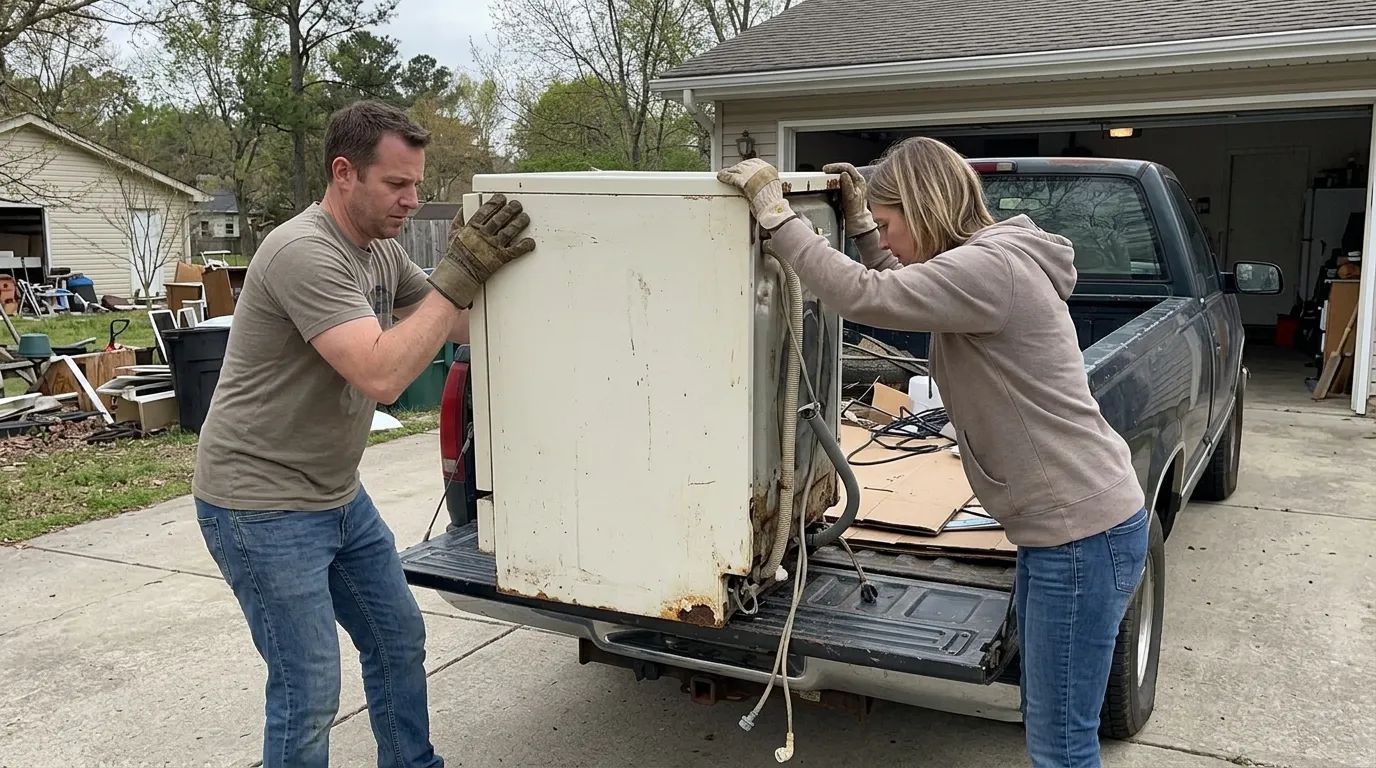
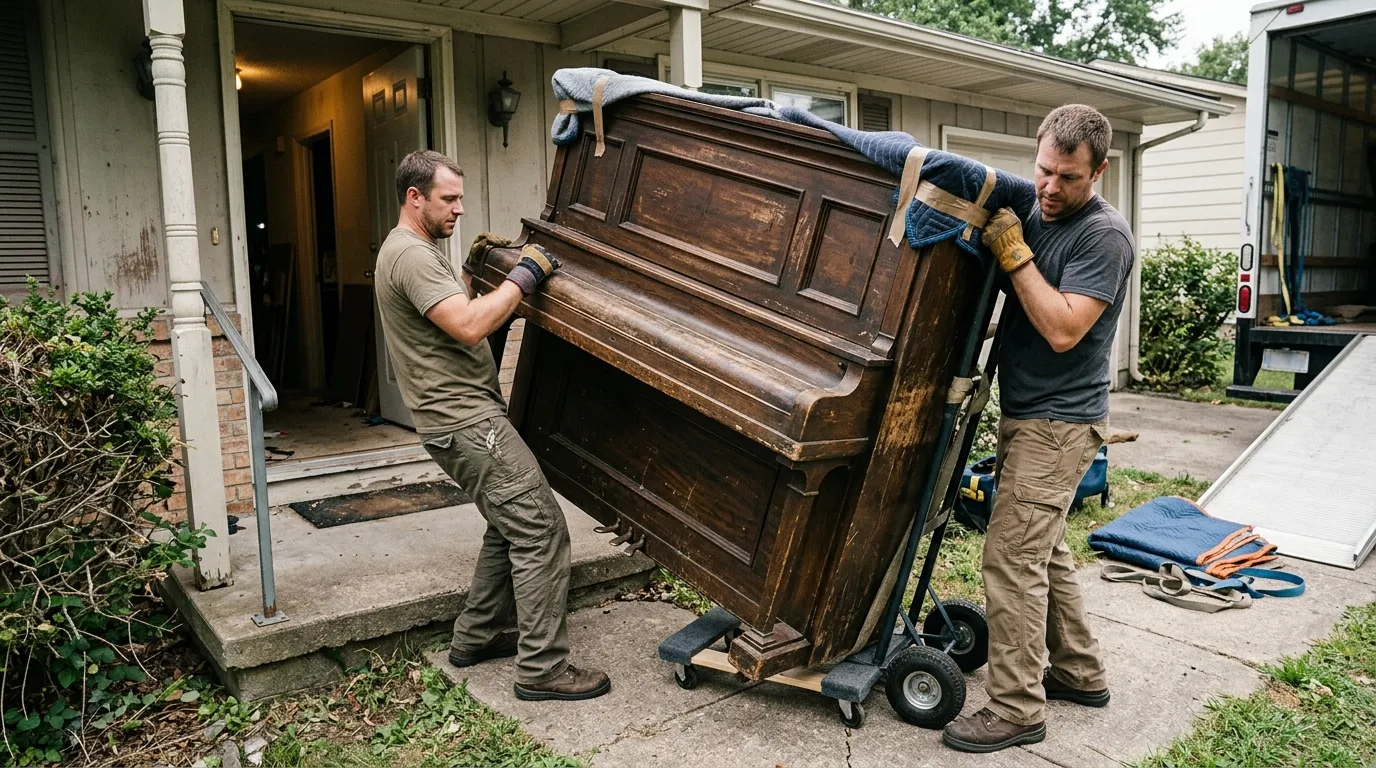
Large and heavy furniture should be handled carefully. Do not try to move heavy items without enough people or the right equipment. Clear pathways before moving furniture and protect walls, doors, and floors from damage.
Office equipment should also be reviewed during this stage. Printers, photocopiers, monitors, telephones, shredders, projectors, and other equipment may need to be returned, sold, recycled, or disposed of properly.
4. Securely Dispose of Confidential Documents
Businesses often have large amounts of paperwork that contain private or sensitive information. This can include customer records, employee information, financial documents, contracts, invoices, internal reports, and other business records.
Do not simply place confidential paperwork in a regular trash bin. Sensitive documents should be securely destroyed so that unauthorized people cannot read or recover the information.
A business can use a document shredding service or an approved secure document disposal method. Before destroying anything, check whether the business is required to keep certain records for a specific period.
Digital information also needs attention. Old computers, hard drives, USB drives, and other storage devices may contain sensitive business information even after files have been deleted. Make sure data is securely removed before equipment is sold, donated, recycled, or disposed of.
5. Clear Out Old Electronics and Technology
Technology can quickly build up in an office. Old computers, monitors, keyboards, printers, cables, routers, phones, servers, and other devices may be sitting in storage even though nobody uses them.
Go through electronic equipment and identify what is still needed. Working equipment may be reused, sold, donated, or returned to a supplier. Equipment that is no longer useful should be sent through an appropriate electronics recycling process.
Pay special attention to data stored on computers and storage devices. Important business information should be backed up if needed, and sensitive data should be securely removed before equipment leaves the business.
Do not put electronic equipment in ordinary household or office waste unless local rules specifically allow it. Many types of electronic waste require separate collection or recycling.
Cables should also be sorted instead of throwing all of them away. Some may still be useful, while others can be recycled. Labeling equipment before removal can also help prevent useful technology from being lost during the cleanout.
6. Remove Unused Office Supplies and Inventory
Offices often have more supplies than employees realize. Check cabinets, drawers, shelves, storage rooms, and supply closets for old stationery, folders, paper, pens, packaging materials, cleaning supplies, promotional materials, and other items.
Separate supplies that are still useful from items that are outdated, damaged, or no longer needed. Unopened and usable supplies may be transferred to another office or donated to a school or community organization.
Also check business inventory if the office stores products or materials. Make a record of anything that needs to be moved, returned, sold, donated, or disposed of.
Avoid throwing away large quantities of usable supplies simply because the business is moving. Reusing items can reduce waste and may also save money.
7. Arrange Proper Waste and Junk Removal
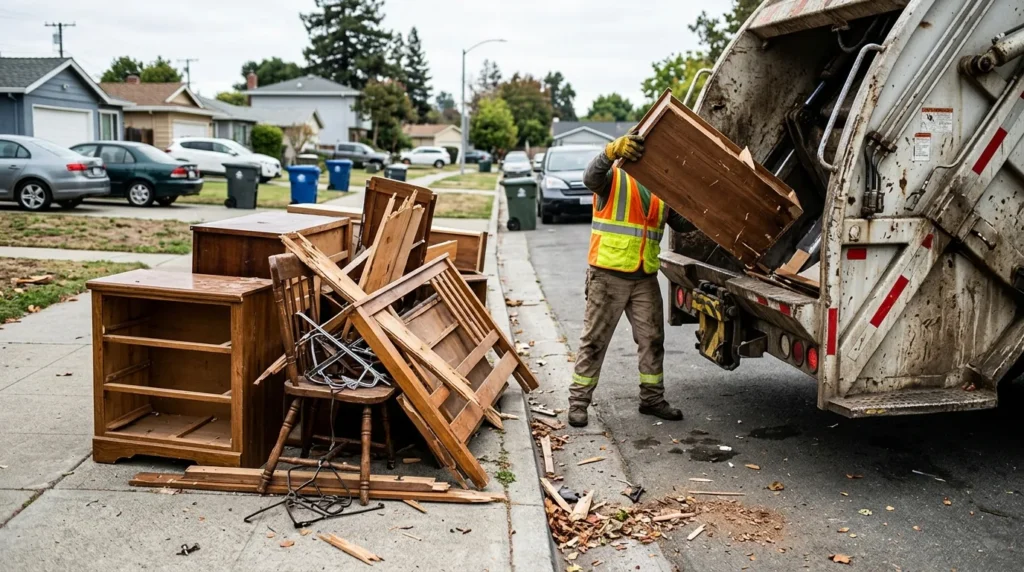
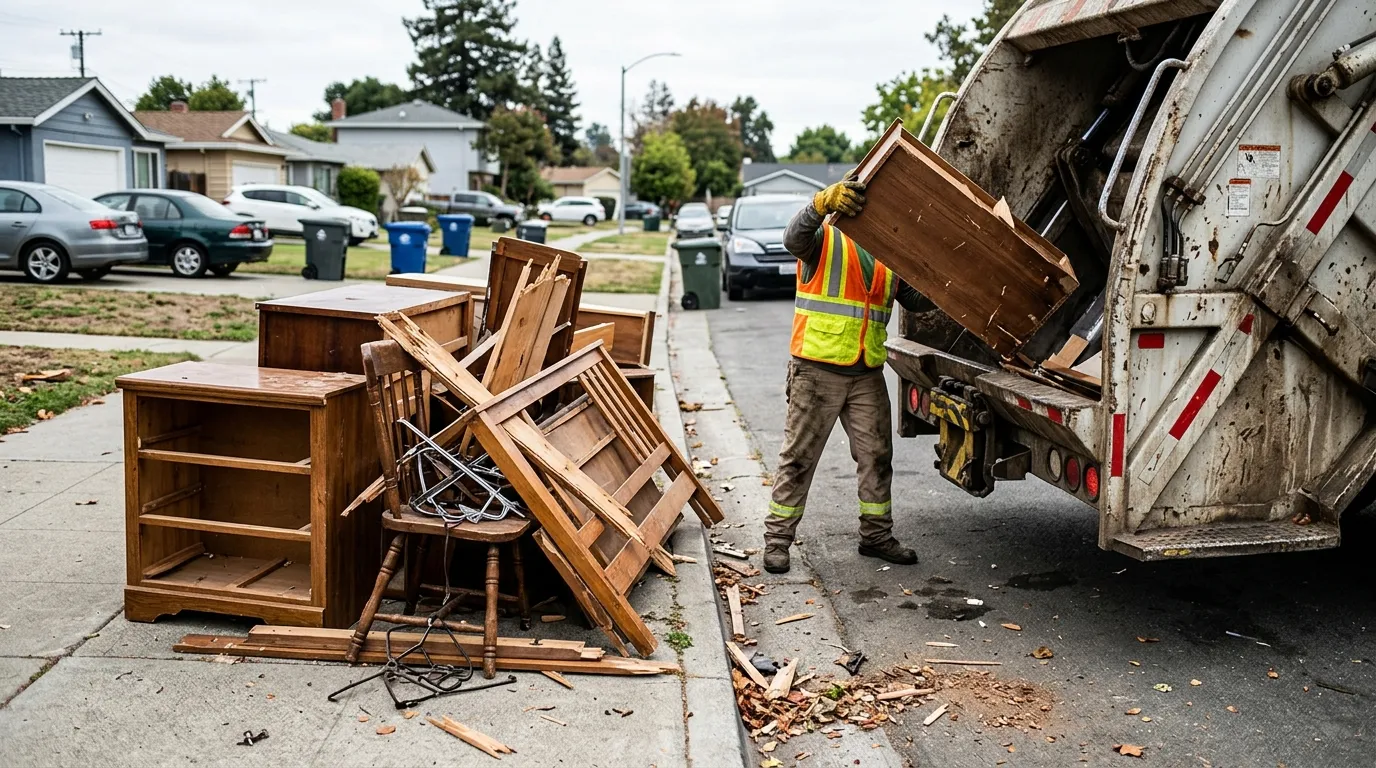
After sorting everything, you may have a large amount of unwanted material that needs to leave the building. This can include furniture, broken equipment, cardboard, office supplies, fixtures, and general junk.
For a large office cleanout, arrange waste collection or a professional junk removal service before the final cleanout day. This helps ensure there is enough space for workers to move around and prevents unwanted items from sitting in the office after the deadline.
When arranging removal, explain what types of items need to be collected. Some materials may require separate handling, especially electronics, batteries, chemicals, appliances, or other items covered by local disposal rules.
If the business is renting the office, check the lease requirements before disposing of fixtures or other items that belong to the property owner. Taking care of disposal early can also reduce the risk of last-minute costs or delays.
8. Check Storage Rooms, Cabinets, and Closets
Storage areas are easy to forget during an office cleanout. They can contain years of old paperwork, broken equipment, spare furniture, empty boxes, unused supplies, and other items that employees rarely see.
Make a point of checking every storage room, cabinet, closet, shelf, and drawer. Do not assume that an area is empty just because it is rarely used.
Go through stored items one by one and place them into the correct keep, donate, recycle, or dispose group. Important documents should be checked before destruction, and electronic devices should be reviewed for stored data.
Also check spaces such as kitchen cabinets, employee lockers, meeting room cupboards, reception storage, and maintenance areas. A final inspection of these spaces can prevent unwanted items from being left behind.
9. Clean and Inspect the Entire Office
Once most items have been removed, clean the office from top to bottom. Removing furniture and storage items often reveals dust, dirt, marks, and debris that were hidden behind them.
Clean desks, shelves, cabinets, floors, windows, kitchen areas, bathrooms, and other shared spaces as needed. Remove rubbish and leftover packing materials. If carpets or floors have heavy stains, they may need additional cleaning.
Inspect walls, doors, floors, lights, fixtures, and other parts of the property for damage. If something needs repair, report it before the office is handed back to the landlord or property manager.
A clean office is especially important when moving out of a rented space. Some leases include cleaning or repair requirements, so check the agreement before completing the final cleanout.
10. Complete a Final Walkthrough Before Handover
The last step is a complete walkthrough of the office. Do not rely on memory. Use your checklist and inspect every area again.
Check individual offices, meeting rooms, storage spaces, kitchens, bathrooms, reception areas, closets, cabinets, and other rooms. Look inside drawers and cupboards and check behind doors and large fixtures.
Make sure all items that need to be moved have been collected. Confirm that confidential documents have been handled correctly and that unwanted waste has been removed. Check that required equipment, keys, access cards, and other property items are returned to the correct person.
If the office is being handed back to a landlord, take photos after the cleanout. These photos can provide a record of the condition of the space at the time of handover.
Finally, confirm that the office meets the requirements of the lease, building management, or new occupant. Completing this final check can help avoid forgotten items, extra cleaning work, and problems after the business leaves.
Final Thoughts
A business office cleanout becomes much easier when the work is planned in advance. Start by making a list, sort everything into clear groups, and deal with furniture, documents, electronics, supplies, and waste separately. Pay special attention to confidential information and electronic devices that may contain business data.
Do not forget the areas that are easy to overlook, such as storage rooms, cabinets, closets, and drawers. After everything has been removed, clean the office and complete one final walkthrough.
A well-organized cleanout can leave the space clear, clean, and ready for its next use while helping the business reduce unnecessary waste and avoid last-minute problems.
Also Read: What Happens To Junk That Cannot Be Recycled?